What Is a Prototype
If you’ve ever wondered how ideas turn into real products, a prototype is a key step in that journey. Simply put, a prototype is an early model or sample of a product used to test and validate concepts before full-scale production begins.
Definition and Purpose
A prototype helps you explore your design, identify issues, and gather feedback—all without investing heavily in manufacturing. It’s a tool for discovery and communication that brings your ideas to life in a tangible form, allowing you to refine your product before launch.
Types of Prototypes
There are several types of prototypes based on fidelity and purpose:
- Low-fidelity prototype: Basic and quick, often sketches or simple models, used for initial concept testing.
- High-fidelity prototype: Detailed and functional, closely mimicking the final product with materials and design.
- Proof of Concept: Demonstrates whether a certain idea, technology, or method is feasible.
- Minimum Viable Product (MVP): A simplified version of the product with just enough features to satisfy early customers and validate the market.
Proof of Concept vs Minimum Viable Product
Understanding the difference here matters:
- A Proof of Concept focuses on feasibility. It answers the question, “Can this be done?”
- A Minimum Viable Product tests the market and user reactions with a workable product that has essential features.
Both are critical in the product prototyping process but serve different goals depending on where you are in development.
Step by Step Guide to Making a Prototype
Making a prototype doesn’t have to be complicated. Here’s a simple process to follow:
Define Your Goals and Audience
Start by asking what you want your prototype to achieve. Are you testing a concept, showcasing a design, or preparing for production? Knowing your target users helps shape how detailed your prototype should be.
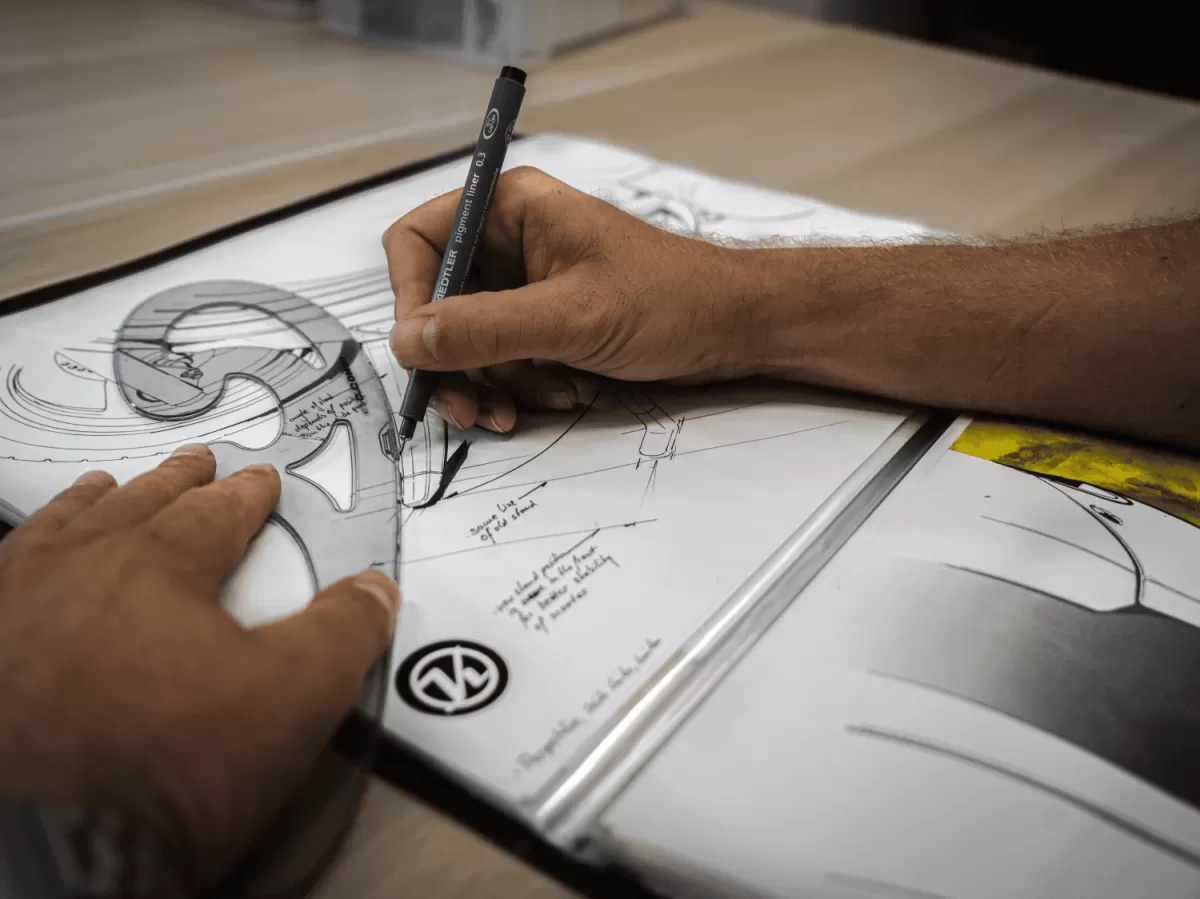
Research and Ideation
Look into similar products, user needs, and potential challenges. Sketch out ideas and decide which features matter most. This step lays a solid foundation before building anything physical or digital.
Choose the Right Prototyping Method
Pick a method that fits your goal and budget. For example:
- Use a low-fidelity prototype (like paper or cardboard) for early feedback.
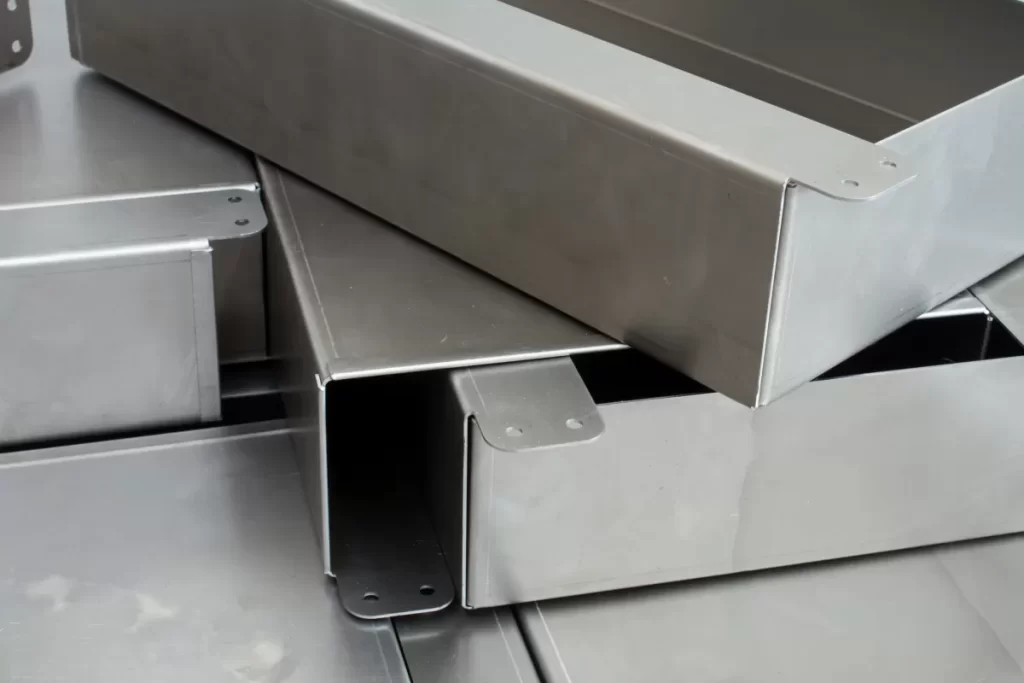
- Try 3D printing for detailed physical models.
- Consider CNC machining for precise, functional prototypes.
Build the Prototype
Bring your idea to life using the chosen tools. Keep it simple at first—focus on key functions. You can always add more detail later.
Test and Gather Feedback
Put your prototype in front of real users or stakeholders. Observe how they interact with it and listen to their thoughts. This feedback is gold for making improvements.
Refine and Prepare for Production
Use what you learned to tweak your design. Improve any flaws and finalize materials or specs. This step speeds up eventual production and helps avoid costly mistakes later.
Following this guide keeps your prototype development process clear and efficient, getting you a better product faster.
Tools and Technologies for Prototyping
When it comes to product prototyping, choosing the right tools and technologies can make all the difference. Whether you’re going DIY or relying on professional services, understanding your options helps you move faster and smarter.
DIY Tools
For low-fidelity prototypes or early design stages, you can start with simple, accessible tools:
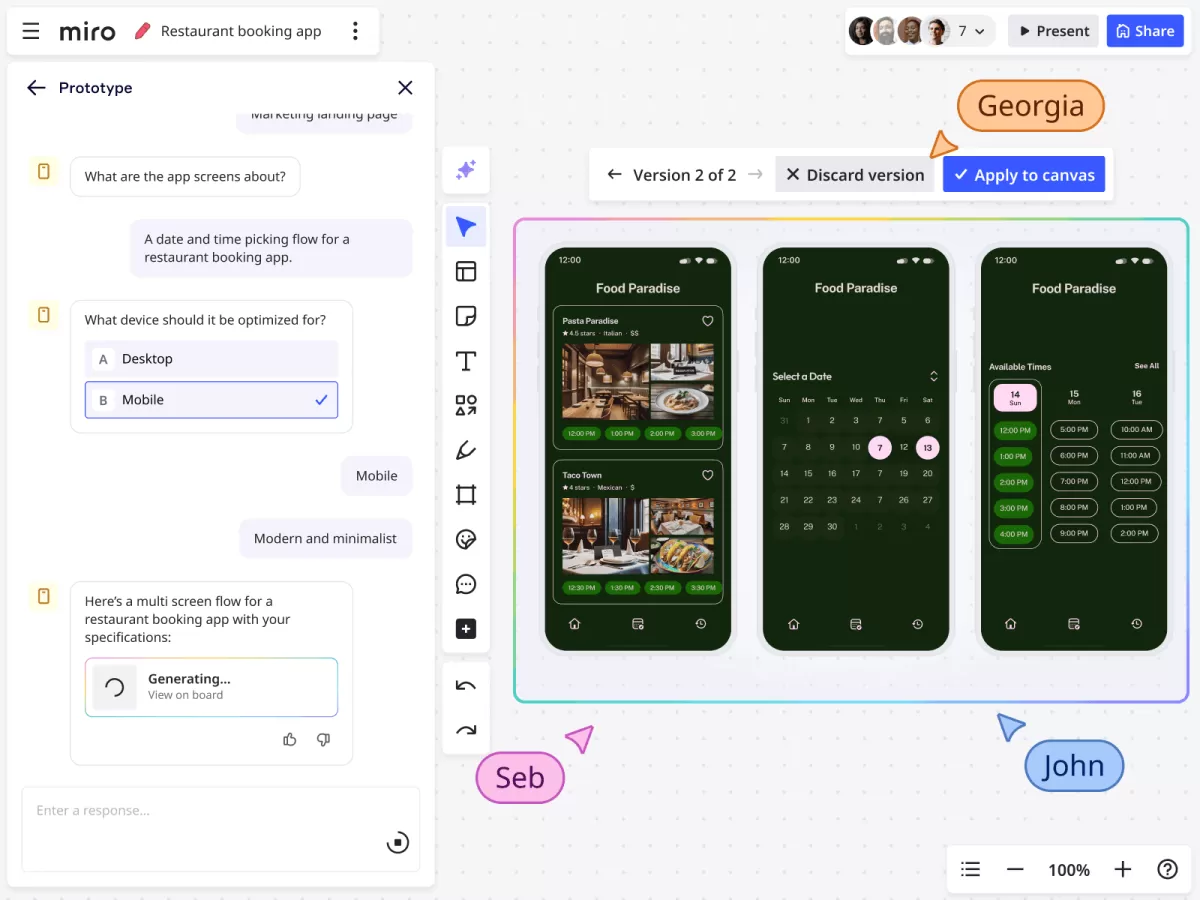
- Sketching and Wireframing Software: Tools like Sketch, Figma, or Adobe XD help you create basic layouts and interface designs.
- 3D Printing for Prototyping: Affordable desktop 3D printers let you produce physical models quickly, perfect for testing size and shape.
- DIY Materials: Foam, cardboard, or clay are often used to build quick mockups by hand.
- CNC Machining for Prototypes: Some local makerspaces offer entry-level CNC machines you can use to create parts with precision.
Professional Services
If your prototype needs to be more polished or functional, consider these:
- Rapid Prototyping Companies: They specialize in quick turnaround for both low- and high-fidelity prototypes using 3D printing, CNC machining, or injection molding.
- CNC Service Providers: Professional CNC machining gives you prototype parts with high precision and durable materials—great if your design demands tight tolerances.
- Product Design Firms: Some firms offer end-to-end prototype development, covering design iterations, testing, and even small batch production.
Cost Considerations
- DIY Options: Usually affordable and great for early-stage prototypes but can be time-consuming and limited in quality.
- Professional Services: Higher upfront cost but save time and improve prototype quality, which can speed up your product design iteration.
- Balancing Act: Pick tools and services based on the prototype’s purpose—are you validating a concept or preparing for production? That will help you avoid overspending or under-delivering.
Knowing what tools and resources are out there lets you create prototypes that match your goals, whether you’re testing ideas or planning your next big launch.
Common Mistakes to Avoid

When making a prototype, steering clear of these common pitfalls can save you time and money:
-
Skipping Goal Definition
Jumping straight into building without clear goals or understanding your audience can lead to a prototype that misses the mark.
-
Choosing the Wrong Prototyping Method
Using a high-fidelity prototype too early or a low-fidelity one when you need to test detailed features can slow down your product design iteration.
-
Ignoring Feedback
Prototype testing methods are only useful if you listen carefully to feedback and use it to improve your design.
-
Overcomplicating the Prototype
Adding unnecessary features can make the process harder and hide core issues you need to solve first.
-
Not Considering Cost and Resources
Underestimating the cost of prototyping tools, CNC machining for prototypes, or 3D printing for prototyping can lead to budget overruns.
-
Neglecting Documentation
Not documenting changes or key learnings from each prototype stage makes it tougher to track progress and make informed decisions.
Avoiding these mistakes will streamline your prototype development process and bring you closer to a successful final product. For a closer look at practical prototyping experiences, check out how do you prototype one creator’s lucky find.
How HYCNC Can Help
When it comes to product prototyping, HYCNC offers reliable CNC machining services tailored for quick and accurate prototype development. Whether you need precise parts for a low-fidelity prototype or high-quality components for a high-fidelity prototype, HYCNC has the tools and expertise to get the job done right.
Here’s how HYCNC can support your prototype development process:
- Fast turnaround with CNC machining to help you move quickly from design to physical prototype.
- Custom machining services for complex shapes and materials, giving you flexibility for your design iteration.
- Affordable prototyping solutions that fit budgets typical for startups and small businesses in the U.S. market.
- Support for rapid prototyping techniques, including 3D printing and CNC service integration, to speed up prototype testing methods.
- Guidance throughout the prototyping process, helping you refine your prototype before moving to production.
Choosing HYCNC means you get a trusted partner experienced in manufacturing precision prototypes that align with your project goals and timeline. This makes product design iteration smoother and keeps your development on track for success.