Planning Your Go Kart Build
Define Your Go Kart Goals
Before you dive into building your go kart, take a moment to define what you want to achieve. Are you building a fun, casual ride for your kids, or are you aiming for a high-performance DIY go kart for racing? Knowing your goals helps determine the type of engine, frame size, and features you’ll need. Consider factors like speed, weight, and terrain to guide your decisions.
Choosing the Right Design
Picking the right go kart chassis design is essential. You can find many DIY go kart plans online, from classic 4-wheel designs to more advanced electric go kart build concepts. Look for designs that match your skills and goals, whether you want a simple frame welding project or a custom setup. Remember, a well-planned design improves safety and performance.
Sourcing Materials and Tools
Gather quality materials and tools before starting. You’ll need sturdy steel tubing or metal for the frame, wheels, a reliable engine, and steering parts. Don’t forget tools like a welder, drill, and wrenches. For custom go kart parts, consider CNC machining services like those offered by HYCNC to get precise, durable components that fit perfectly. Having everything on hand keeps your build smooth and efficient.
Step-by-Step Guide to Building a Go Kart
Building a go kart from scratch is easier than you might think if you follow these clear steps. Let’s break it down:
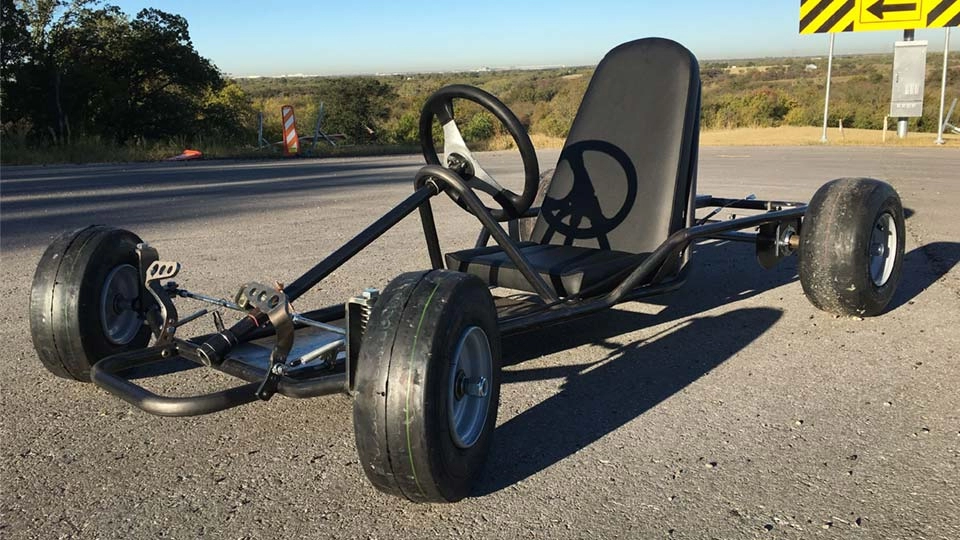
Step 1 Building the Chassis
Start with a solid go kart chassis design. You can use steel tubing or metal frames, making sure it’s strong and fits your size. Welding is key here—take your time to get clean welds for safety and durability.
Step 2 Installing the Rear Axle and Wheels
Next, attach the rear axle. This is usually a solid steel rod running through the rear wheels. Make sure the wheels spin freely but don’t wobble. Proper axle alignment is important to keep your kart driving straight.
Step 3 Mounting the Engine
Choose the right engine for your build—either gas-powered or electric. Secure the engine to the frame with high-quality mounts. Connect the chain or belt drive to the rear axle. Don’t skip checking chain tension; it affects performance.
Step 4 Assembling the Steering System
The go kart steering system needs to be responsive. Install the steering wheel, connecting it to a steering shaft and tie rods linked to the front wheels. Make sure the steering moves smoothly without any binding.
Step 5 Adding Brakes and Throttle
Safety is crucial. Install a reliable brake system—disc brakes are common and effective. Connect the throttle using a simple cable that controls your engine speed. Test both controls several times before moving on.
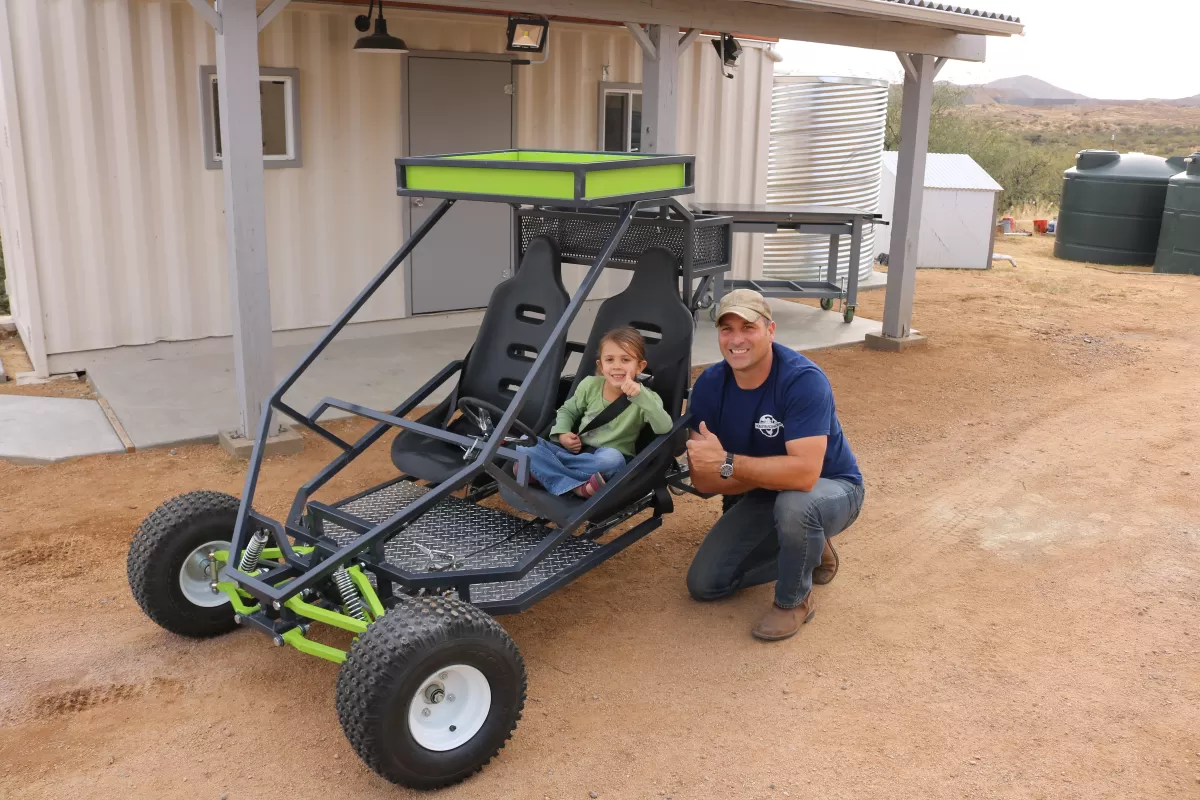
Step 6 Adding the Seat and Safety Features
Choose a comfortable, secure seat that fits well in the frame. Add safety gear like a seatbelt or harness if possible. You can also include padding around sharp edges or roll bars depending on your design.
Step 7 Final Assembly and Testing
Put everything together—double-check bolts, welds, and connections. Test your go kart in a safe, open area. Look for smooth steering, solid braking, and engine response. Make adjustments as needed and enjoy your custom build.
By following these steps and integrating custom go kart parts or CNC machining where needed, you’ll get a go kart that’s both fun and safe.
Safety Considerations for Your Go Kart
Safety has to be a top priority when building and using your go kart. A fun ride isn’t worth much if it puts you or others at risk. Here are some key safety tips to keep in mind during your build and when hitting the track:
- Use quality materials: Make sure your go kart chassis and frame use strong, reliable metals or materials. Weak frames can fail under stress. Proper go kart chassis design with good welding is a must.
- Install reliable brakes: Brakes are non-negotiable. Test your brake system thoroughly before going full speed.
- Secure the engine properly: Engine installation should be solid—loose engines can cause accidents or damage.
- Add safety features: Include a strong seatbelt or harness, a comfortable and secure driver seat, and protective bumpers or guards if possible.
- Wear protective gear: Always use a helmet, gloves, and suitable clothing when driving. A neck brace and racing suit help too, especially if you plan to go fast.
- Test carefully: Before full use, do slow-speed tests in a controlled environment to check steering, brakes, and throttle response.
These steps help you build a go kart that’s not only fun but reliable and safe, protecting you and others during every ride.
Cost Breakdown for Building a Go Kart

Building a go kart from scratch can be surprisingly affordable, but costs vary depending on the parts and materials you choose. Here’s a simple breakdown to help you budget your DIY go kart plans:
-
Chassis Materials: Expect to spend around $100 to $300 on steel tubing or pre-made go kart frame kits. If you’re welding your own go kart chassis design, prices can vary based on where you source your metal.
-
Engine: A basic small engine for go kart engine installation typically costs between $100 and $300. Options include used lawnmower engines or specialized go kart engines. Electric go kart builds may cost more upfront due to batteries and motors.
-
Wheels and Tires: Good-quality rear and front wheels usually add $50 to $150, depending on size and brand.
-
Steering System Parts: Steering components like the steering wheel, rods, and bearings often cost about $50 to $100.
-
Brakes and Throttle Assembly: Budget $40 to $100 for brake kits and throttle linkages.
-
Seat and Safety Gear: A basic seat may run $30 to $80. Don’t forget to invest in safety features like seat belts and helmets, which could cost another $50 to $150.
-
Tools and Miscellaneous Supplies: If you don’t have tools, factor in costs for welding equipment, hand tools, and fasteners, which can be $100 or more.
-
Custom Go Kart Parts and CNC Machining: If you want custom go kart parts made via CNC machining services, prices depend on complexity but expect at least a few hundred dollars for quality parts from a trusted CNC service.
In total, a basic go kart build typically runs between $500 and $1,500. Going for more custom parts or electric setups will push that higher. Planning ahead and sourcing used parts locally can help keep costs down.
Customizing Your Go Kart with HYCNC
If you want your go kart to stand out or fit your specific needs, HYCNC is a solid option for custom go kart parts. They offer CNC machining services that can help you create precise, durable components—whether it’s a custom chassis part, a unique steering system piece, or even brackets for engine installation.
Here’s why using HYCNC makes a difference:
- Accurate Parts: CNC machining means parts fit perfectly, reducing frustration during assembly.
- Stronger Components: Quality materials and precise cuts improve durability for your go kart frame and moving parts.
- Design Flexibility: You can tweak your CAD designs to get exactly what you want—perfect if you’re building a custom go kart from scratch.
- Local Service: HYCNC understands US market needs, so you get reliable turnaround times and support.
If you want to DIY your go kart but need a professional touch on the tricky parts, HYCNC’s custom CNC service is a great way to add unique features or upgrade standard components without losing quality or breaking the bank.
Tips for a Successful Go Kart Build
Building a go kart from scratch can be super rewarding if you keep a few key tips in mind:
- Start with a clear plan. Knowing your go kart goals and choosing the right design upfront saves time and frustration later.
- Focus on quality materials. Using good steel for the chassis and reliable parts helps your build last longer and perform better.
- Keep safety front and center. Make sure to add proper go kart safety features like a sturdy seat, brakes, and a solid steering system.
- Take your time with the engine installation. A well-installed go kart engine means smoother rides and fewer headaches down the road.
- Use CNC machining or professional services if possible. Custom go kart parts made through CNC can give you precision and durability hard to match by hand.
- Test often. Don’t wait until the final assembly to test components; early checks help catch issues early.
- Learn basic welding and frame building skills or get a pro. A strong go kart chassis design depends a lot on how well the frame is welded together.
- Consult DIY go kart plans and tutorials. Leverage online resources or CAD tutorials if you need extra guidance, especially for electric go kart builds.
- Customize carefully. Adding custom parts can be fun, but make sure everything fits well and maintains safety.
- Have patience and stay organized. Building a go kart takes time—keep track of parts and steps to avoid confusion.
Following these simple tips will make your go kart build smoother and more enjoyable, ultimately leading to a better, safer ride.