Are you struggling to convert raster images to vector in Inkscape for your next design or CNC project? Creating scalable, CNC-ready vector files can transform your artwork and ensure precision for laser cutting or graphic design. As a designer and CNC enthusiast, I’ve mastered Inkscape’s vectorization tools and learned the tricks to make your files shine, whether for HYCNC’s services or professional designs. In this guide, you’ll discover a step-by-step process to turn your PNGs or JPEGs into clean SVG files, avoid common pitfalls, and optimize for CNC machining. Let’s dive into vector conversion and elevate your projects today!
Understanding Raster vs Vector Graphics
If you’re new to graphic design or CNC projects, you might wonder what the difference is between raster and vector graphics—and why it matters when converting images in Inkscape. Getting this right can save you time and improve your CNC cutting results.
Raster Graphics Explained
Raster images, like photos or PNG files, are made up of tiny colored pixels. When you zoom in or resize them, they can get blurry or pixelated because they rely on fixed dots. These images are great for detailed pictures but not ideal when you need clean, sharp edges or scalable designs.
Vector Graphics Explained
Vectors use lines, curves, and shapes defined by math instead of pixels. This means they can be scaled up or down without losing any clarity. SVG files are a common vector format, perfect for CNC machining, laser cutting, and graphic design. Vector graphics make it easy to edit shapes, colors, and paths—ideal when precision matters.
When to Use Inkscape for Vector Conversion
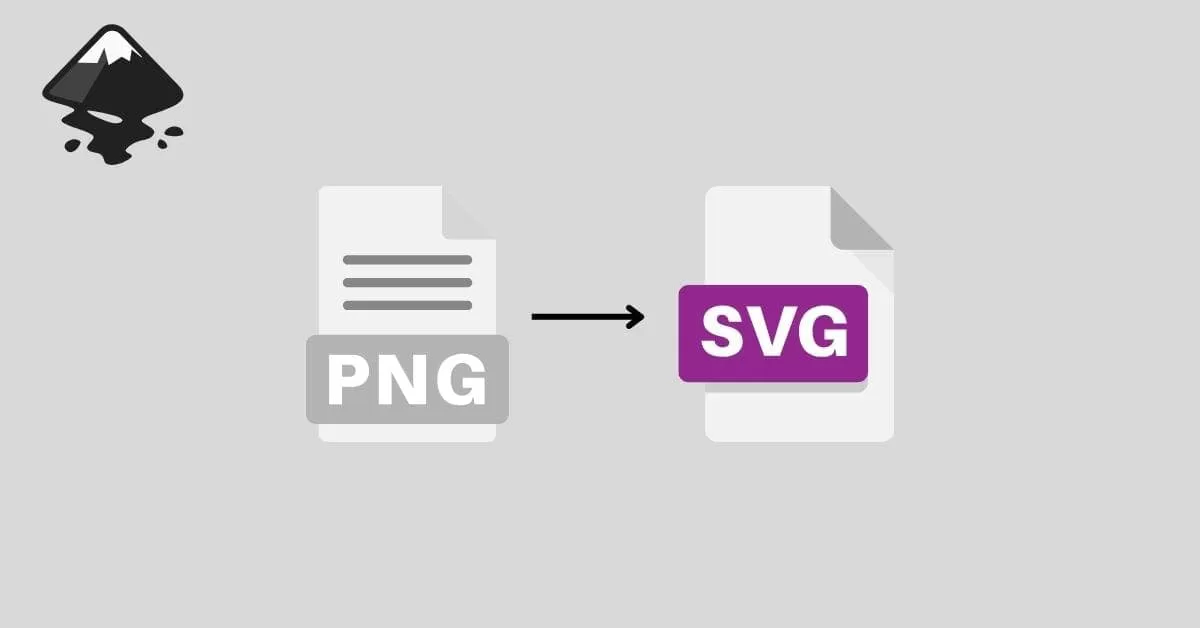
If you have a raster image you want to use for CNC cutting or design, converting it into a vector is the way to go. Inkscape offers a powerful free tool called Trace Bitmap that turns raster images like PNG into crisp, editable vectors in SVG format. It’s especially useful if you need to simplify or tweak your design before sending it to a CNC machine or laser cutter.
Using Inkscape to convert your images can improve the quality of your cuts and save you from issues caused by pixelated artwork. It’s an essential step for anyone serious about producing sharp, professional vector graphics from raster files.
Step by Step Guide to Converting Raster to Vector in Inkscape
Step 1 Setting Up Your Inkscape Workspace
Open Inkscape and create a new document. Make sure your workspace is ready by importing the raster image (like a PNG or JPEG) you want to convert. You can do this by going to File > Import, then select your image. Arrange it well on the canvas so you have enough room to work.
Step 2 Using the Trace Bitmap Tool
With your image selected, go to Path > Trace Bitmap. This tool is key for Inkscape vectorization. You’ll see options to adjust how the tracing works — try using the Brightness cutoff or Edge detection modes first. Click Update to preview, then hit OK to create the vector version. You’ll get a new object that’s a vector path on top of your original raster image.
Step 3 Refining the Vector Output
After tracing, it’s common to clean up the vector paths. Use the Node tool to tweak curves and remove unwanted points. Simplify the paths by selecting them and going to Path > Simplify to reduce complexity. This helps when you plan to use the vector for CNC machining or laser cutting, as it keeps files manageable and precise.
Step 4 Saving Your Vector File
Once happy with your vector, save it in a format that works for your needs. Inkscape exports SVG files by default, which works well for CNC services and graphic design. Go to File > Save As and select Plain SVG or Inkscape SVG depending on your final use.
Step 5 Preparing for CNC with HYCNC
If you’re sending your vector file to a CNC service like HYCNC, double-check that your paths are closed and properly simplified. Confirm the file format required by HYCNC—usually SVG or DXF is accepted. You might also want to convert strokes to paths (Path > Stroke to Path) and set the right scale. This ensures smooth processing by CNC machines and accurate cuts.
Following these steps makes converting your raster images to tight, clean vectors straightforward using Inkscape’s free tools.
Tips for Optimizing Vectors for CNC and Graphic Design
Making sure your vectors are clean and ready is key, whether you’re prepping for CNC machining or designing graphics. Here’s how to get the best results with Inkscape vectorization.
For CNC Machining
- Simplify paths: Use Inkscape’s Simplify tool to reduce unnecessary nodes. Fewer nodes mean smoother cuts and less strain on your CNC machine.
- Use clean, closed paths: CNC tools require closed shapes to cut properly. Double-check your paths and make sure there are no gaps or overlaps.
- Set correct stroke and fill: Convert strokes to paths before exporting. This makes sure the CNC software reads all your lines accurately.
- Optimize scaling: Keep your vector at an exact scale to match your CNC machine settings. Avoid resizing later to prevent distortions.
- Export in compatible formats: Save your file as SVG or DXF, which are preferred for CNC software.
For Graphic Design
- Edit nodes precisely: Use Inkscape’s node editing tools to clean up jagged edges or awkward curves for a polished look.
- Use layers wisely: Organize complex designs with layers. It helps keep your work neat and editable.
- Keep file size manageable: Simplify paths and limit unnecessary details to reduce file size without losing quality.
- Choose the right export format: SVG is great for web and design software. Export PNG if you need a raster preview.
Troubleshooting Common Issues
- Jagged edges after tracing: Try adjusting Trace Bitmap settings like ‘Smoothing’ and ‘Threshold’ for better results.
- Too many nodes slowing performance: Use Simplify to reduce nodes, but not too much to lose detail.
- Missing fills or strokes: Check your layers and make sure paths aren’t hidden or locked.
- Export problems: Ensure you’re exporting the correct layers and paths. Sometimes hidden objects get exported by mistake.
Following these tips will help your Inkscape vectors look sharp and work perfectly, whether on a CNC machine or for your next design project.
Why Choose Inkscape for Vector Conversion
Inkscape stands out as a top choice for converting images to vector because it’s free, open-source, and packed with powerful features. Whether you’re turning a PNG or JPG into an SVG for CNC projects or graphic design, it handles the job well without costing a dime. Inkscape’s Trace Bitmap tool gives you precise control over vectorization, letting you tweak the detail and smoothness to fit your needs.
Here’s why I recommend Inkscape for vector conversion:
- Free and Accessible: No subscription or payment needed, perfect for small businesses and hobbyists across the U.S.
- Easy to Use: The interface is straightforward, and plenty of tutorials help you get started quickly.
- Precise Vector Editing: You can clean up paths, use node editing, and simplify shapes to optimize your design for CNC cutting or laser engraving.
- Multiple Export Formats: Save your files as SVG or other vector formats compatible with CNC machines and graphic software.
- Strong Community Support: Lots of forums and resources for troubleshooting, so help is never far away.
Inkscape fits right into workflows that need affordable, reliable vector conversion, especially if you want to prepare designs for CNC machining, laser cutting, or digital art projects. It’s powerful enough for professionals but accessible enough for beginners.
FAQs
What is the easiest way to convert a PNG to SVG in Inkscape?
The easiest method is using Inkscape’s Trace Bitmap tool. Just import your PNG, open Trace Bitmap, and let Inkscape create a vector version you can edit and save as SVG.
Can I use Inkscape to prepare files for CNC cutting?
Absolutely. Inkscape lets you convert raster images to clean vectors and simplify paths, perfect for CNC machines or laser cutting. Plus, you can fine-tune nodes to ensure smooth cuts.
Is Inkscape free for vector conversion?
Yes, Inkscape is a free, open-source vector graphics editor that works great for converting raster images to vectors without any cost.
How do I refine the vector image after tracing?
Use the node editing tools to adjust curves and lines. Simplify paths to reduce complexity and improve performance, especially for CNC or laser cutting jobs.
What file formats can I save in after converting to vector?
Inkscape primarily saves files in SVG format, but you can also export to PDF, EPS, DXF, and other vector formats depending on your workflow needs.
Can Inkscape handle complex images?
Inkscape works best with simpler, high-contrast images. Complex photos might need image cleanup or manual editing before tracing for the best results.
Where can I find tutorials for Inkscape vectorization?
There are many free raster to vector tutorials online, but starting with Inkscape’s official guides and community forums can help you get the hang of Trace Bitmap and node editing quickly.

