What Are 3D Printed Hinges
3 printed hinges are functional components created using additive manufacturing techniques to allow between two parts. Unlike traditional hinges made through machining or molding 3D printed hinges can be produced quickly and customized precisely to fit unique designs.
There are three main types of 3D printed hinges:
Living hinges are thin, flexible sections of material that bend repeatedly without breaking. They rely on the material’s flexibility rather than mechanical parts, making them ideal for lightweight or low-stress applications.
Mechanical hinges consist of interlocking parts printed separately or together that rotate around a pin or axle. These function like conventional metal hinges and can handle higher loads or repeated motions.
Print-in-place hinges are designed to be printed fully assembled. The moving parts are connected but not fused, allowing immediate functionality without extra assembly steps.
3D printed hinges are widely used across industries—from custom consumer products and prototype models to functional parts in robotics, medical devices, automotive components, and even architectural models. Their adaptability and ease of manufacturing open up new possibilities where traditional hinges might be too costly or impractical.
Benefits of 3D Printed Hinges
3 printed hinges come with several clear advantages that make them a smart for many projects.
Cost-effectiveness
Because they made right from digital files, there’s no need for expensive molds or tooling. This keeps costs low, especially for small runs or custom parts. You pay mainly for material and printing time, saving money compared to traditional manufacturing.
Design flexibility
With 3D printing, you can create complex hinge shapes and features that traditional methods can’t easily produce. This lets you tailor hinges perfectly to your project’s needs, including custom sizes, shapes, and moving parts.
Rapid prototyping
Need to test a hinge idea fast? 3D printing lets you go from design to physical part in hours or days, not weeks. This speed helps you quickly refine and improve your hinge designs without long delays.
Seamless integration
3D printed hinges can be printed directly as part of a larger assembly using print-in-place techniques. This means fewer parts to assemble and no extra hardware needed, simplifying manufacturing and improving durability.
Key Design Considerations for 3D Printed Hing

When designing 3D printed hinges, paying attention to details can make a big difference in performance and durability. Here some key points to keep in mind:
-
Hinge Thickness
Make sure the hinge is thick enough to handle regular use but not so thick that it becomes stiff. Finding the right balance helps the hinge move smoothly without breaking.
-
Bottom Radius and Recess Tightness
The bottom radius—the curve at the hinge joint—needs to be smooth and properly sized. Too tight a recess can restrict movement, while too loose can cause wobbling. This affects how well the hinge bends and lasts over time.
-
Print Orientation
How you orient the hinge during printing matters. Printing along the hinge’s axis usually improves strength and flexibility. Poor orientation can cause weaker joints or uneven movement because of layer lines.
-
Air Gaps for Movement
Leave small clearances or air gaps around moving parts. These gaps prevent the hinge from fusing together during printing, allowing free movement right after the print is done.
-
Scaling for Accuracy
Sometimes hinges print slightly larger or smaller than designed. Anticipate this by scaling your design or adjusting tolerances to achieve precise fits and smooth operation.
-
Stress and Load Expectations
Understand how much force your hinge will face. Designs should accommodate expected loads, especially for mechanical hinges. Reinforce or adjust the design if high stress or weight is involved to avoid failure.
Focusing on these design aspects will ensure your 3D printed hinges work reliably and last longer in real-world use.
Best Materials for 3D Printed Hinges
Choosing the right material key for making strong, reliable 3D printed hinges.’s a quick breakdown of the top options:
PLA forotyping
PLA is great if you just need quick, low-cost prototypes. It’s easy to print but not the best for parts that need to flex or bear a lot of weight.
PETG durability and flexibility
PETG strikes a good balance. It’s tougher than PLA and offers some flexibility, making it a solid choice for functional hinges that need to last longer.
Nylon suitability for living hinges
Nylon is perfect for living hinges due to its high flexibility and durability. It can handle repeated bending without breaking, which is important for moving parts.
ABS toughness
ABS is known for its toughness and heat resistance. It’s a strong option for hinges that need to withstand impact or higher temperatures.
TPU flexibility
For maximum flexibility, TPU is the way to go. It’s a soft, rubber-like material that works well when you want a hinge with more give and softer movement.
Custom material selection expertise
If you’re unsure what material fits your project best, expert help makes a difference. Custom material selection can match your hinge’s needs for strength, flexibility, and durability, especially for unique applications.
Picking the right 3D printing hinge material helps you get durable parts that perform well in your specific use case, especially here in the U.S. where quality and reliability matter.
How to 3D Print Hinges Step–Step Guide
Getting your 3D printed hinges right starts a clear process. Here’s a simple step-by-step guide help you print functional, reliable hinges every time.
Design with CAD Software
Begin by designing your hinge in CAD software like Fusion 360 or Tinkercad. Keep in mind hinge thickness, radius, and clearances for smooth movement. Make sure to model any living hinges or print-in-place designs based on your hinge type.
Slicing Settings and Adjustments
Next, import your CAD file into slicing software. Adjust key settings for hinges:
- Use a fine layer height (0.1–0.2mm) for better accuracy
- Increase shell thickness and infill for strength
- Add supports only if necessary; print-in-place hinges usually need none
- Optimize print speed to reduce stringing and warping
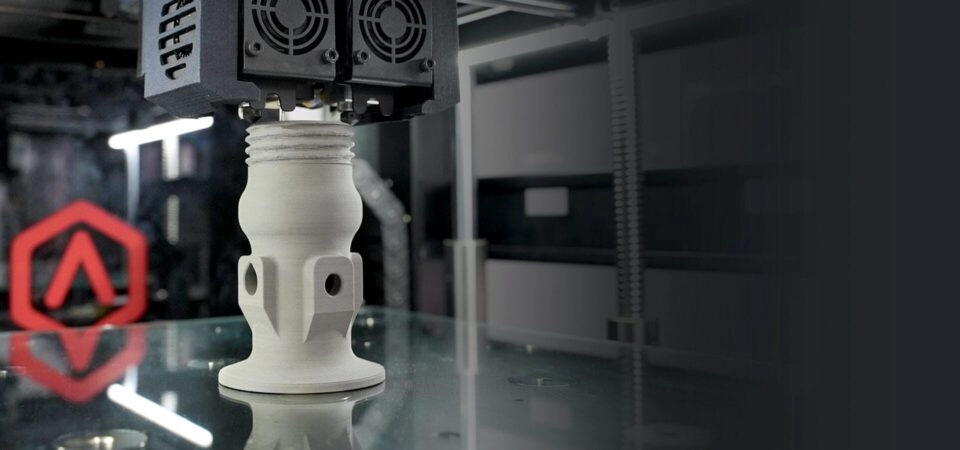
Choosing Printing Technology
Most 3D printed hinges work great on FDM printers, but SLA resin printers can deliver smoother finishes for smaller or more precise hinges. Consider your material choice too: PLA for prototyping, PETG or ABS if you need durability, TPU for flexibility.
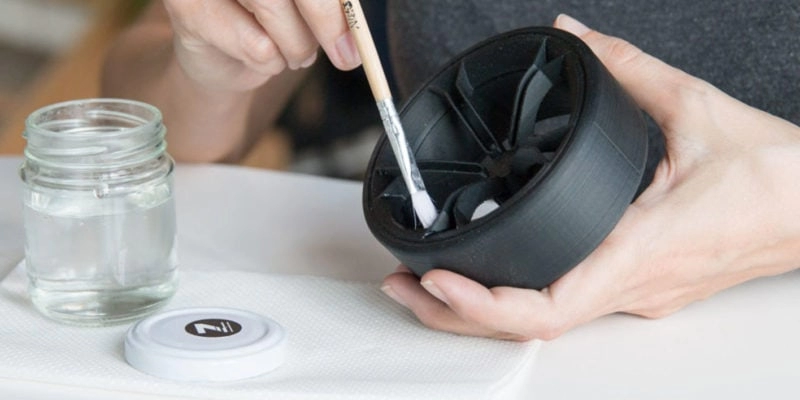
Post-Processing Techniques
Once printed, remove supports carefully if used. Sand any rough edges, and test the hinge motion gently. For stronger hinges, you can apply heat treatments or use adhesives to reinforce weak spots, especially on mechanical hinges.
Tips for Printing Success
- Print hinges flat or in an orientation that favors strength and movement
- Avoid overly tight clearances to prevent sticking
- Include small air gaps—around 0.2mm—between hinge parts for smooth action
- Use slower print speeds on complex hinge areas
- Test and adjust your design based on real-world movement and load
Following these steps helps you create functional, durable 3D printed hinges that fit your project needs and perform reliably in everyday use.
Challenges and Solutions for 3D Printed Hinges

3D printed hinges come their own set of challenges, but knowing the common issues helps costly mistakes.
Layer adhesion and anisotropy issuesBecause 3D printing builds parts layer by layer, the between layers can be weaker than within a layer. This anisotropy can cause hinges to break or crack along layer lines. To improve adhesion:
Optimize print settings for better bonding
Use materials with strong layer fusion like PETG or Nylon
Print with layers oriented to handle stress better
Hinges sticking or breaking
Hinges may stick if they’re printed too tightly or without proper clearances. Too little gap between moving parts causes fusion during printing, restricting movement. On the flip side, if a hinge is too thin or the material isn’t durable enough, it might snap. Fix these by:
- Designing accurate air gaps between hinge parts (usually 0.2 mm or more)
- Choosing flexible materials like TPU or Nylon for living hinges
- Testing prototypes and adjusting thickness or gaps accordingly
Load-bearing limits and reinforcements
3D printed hinges have limits on how much weight or force they can handle compared to metal hinges. For heavier loads, consider:
- Using thicker hinge sections or built-in reinforcements in the design
- Printing with stronger materials like ABS or Nylon
- Supplementing with metal parts if needed
Mastering these challenges ensures your 3D printed hinges work reliably and last longer, whether for prototyping or final parts. For expert designs and manufacturing, companies like HYCNC provide custom 3D printed hinge solutions that address these issues efficiently. Check out their expertise combining CNC and 3D printing for durable parts here.
HYCNC Custom 3D Printed Hinge Solutions
At HYCNC, we bring together CNC machining expertise and advanced 3D printing to deliver custom 3D printed hinges tailored to your needs. Whether you need living hinges, mechanical hinges, or print-in-place designs, our team helps you create durable, precise parts that fit your project perfectly.
We offer design consultation and prototyping services to make sure your hinge functions exactly how you want. Our experience spans various industries, letting us provide solutions for everything from lightweight consumer products to more demanding industrial uses.
Want to see how our custom hinges work in real applications? We have case studies that show successful projects across different markets, highlighting our ability to solve unique challenges.
Ready to get started? Contact us for a quick, personalized quote on your custom 3D printed hinges and take your project to the next level with HYCNC’s combined CNC and 3D printing expertise.
Top 3D Printed Hinge Models and ResourcesIf you’re starting with 3D printed hinges, exploring free designs from popular websites like Thingiverse or MyMiniFactory can be a great way to find ready-to-print models. These sites offer a variety of hinge styles, including living hinges and mechanical hinges, to inspire your projects.
For design inspiration, review examples from successful builds that showcase how different hinge types perform in real applications. This can help you decide what works best for your needs.
Using CAD tools with stress simulation features is a smart move when refining your hinge designs. These tools let you test how your hinge will handle loads, which is crucial for durability and function.
If you need something unique, custom model refinements are available. You can tweak existing designs or create new ones tailored to your exact requirements. Services like HYCNC specialize in custom 3D printed hinges, offering both design help and prototyping to get your hinge just right.
For more on custom 3D printed parts and expert advice, check out our article on 3D printed motorcycle parts here.